




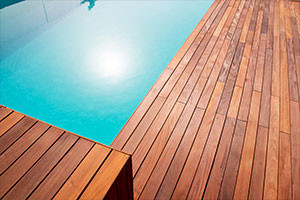
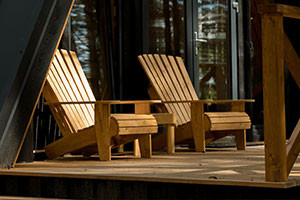



Wood is a natural, warm and durable material, but it can change over time due to moisture, UV rays, temperature variations or simply everyday use. Staining wood helps protect it while preserving its natural appearance and, depending on the finish chosen, enhancing its grain.
But how do you stain wood properly? Which wood stain should you choose? How should you prepare the surface? How many coats should you apply? In this guide, discover all the steps required to successfully apply a wood stain, both indoors and outdoors.

What is a wood stain?
A wood stain is a finishing product designed to protect and decorate wood. Unlike opaque paint, which generally hides the surface, a wood stain allows the fibres and grain of the wood to remain more or less visible depending on its colour and level of opacity.
Wood stain forms a protective finish on the surface while generally remaining microporous: it helps limit water penetration while allowing water vapour to escape. This characteristic is particularly useful for woodwork exposed to variations in humidity.
Why stain wood?
Applying a wood stain serves several purposes: protecting the surface, improving its durability and customising its appearance. Outdoors, a suitable stain helps wood withstand weather conditions and UV rays. Indoors, it is mainly used to decorate wood, make it easier to maintain and protect its surface from everyday wear.
An exterior wood stain is particularly suitable for vertical surfaces such as cladding, shutters, doors, windows, sheds and other exterior woodwork. For highly exposed horizontal outdoor surfaces such as wooden decking, a non-film-forming wood saturator is generally preferred, as it is better suited to the specific demands of these surfaces.
The different types of wood stains
Not all wood stains have the same characteristics. Before staining wood, it is important to choose a product suited to the surface, its location and the desired appearance.
Water-based or solvent-based wood stain: what are the differences?
| Type of wood stain | Advantages | Points to consider |
|---|---|---|
| Water-based wood stain | Fast drying, low odour, tools can be cleaned with water, comfortable application | Requires careful application and compliance with the conditions specified by the manufacturer |
| Solvent-based wood stain | Good penetration depending on the formulation, generally longer open time | Stronger odour, often longer drying time and tools require cleaning with a suitable product |
Clear or coloured wood stain: which should you choose?
A clear wood stain is ideal when you want to preserve the original appearance of the wood as much as possible. It is particularly suitable for indoor use. Outdoors, make sure that the formulation is specifically designed for exterior use: the pigments contained in coloured stains generally contribute to protecting the wood against UV rays.
A coloured wood stain, on the other hand, can modify or enhance the colour of the wood while keeping its grain visible. It can therefore give woodwork a lighter, darker or different tone without producing the completely opaque effect of paint.
Which wood stain should you choose for indoor use?
Indoors, the choice mainly depends on the surface and the desired finish. A wood stain for panelling, for example, can protect and decorate wooden panelling while preserving the appearance of the wood.
For exposed structural elements, a wood stain for beams or a wood stain for timber frames helps enhance the wood grain while providing the desired finish.
Why and when should you stain wood?
There is no need to wait until the wood is badly deteriorated before taking action. Applying protection at the right time makes it much easier to preserve the condition of the surface.
How do you know when wood needs to be stained?
Several signs may indicate that exterior woodwork needs an initial application or renovation: loss of finish, fading colour, a duller surface, an old finish that is peeling or wood that absorbs water more easily.
If an old film-forming stain is peeling or flaking, it is important to remove any loose areas before applying a new coat. Applying a new finish directly over a deteriorated coating can significantly reduce the adhesion and durability of the new wood stain.
How often should wood be stained?
There is no universal maintenance interval. The durability of a wood stain depends on the product used, the type of wood, the orientation of the surface, its exposure to UV rays and weather conditions, and the quality of the initial preparation.
A façade that is highly exposed to sun and rain may require maintenance more frequently than woodwork protected by a roof overhang. The best indicator therefore remains the actual condition of the finish. Regular inspection allows you to take action before significant deterioration occurs.
How to prepare wood before staining
Preparation is one of the most important steps when staining wood. Even an excellent wood stain will give disappointing results if it is applied to a dirty, damp or poorly prepared surface.
1. Clean the wood thoroughly
Start by removing dust, dirt and contaminants from the surface. The wood must be clean, sound and dry before application.
If the wood is old or has a deteriorated finish, more extensive preparation may be required. The aim is to obtain an even and sufficiently absorbent surface to ensure good adhesion of the new finish.
2. Remove old loose finishes
Paint or an old wood stain that is peeling should not simply be covered over. Any areas that no longer adhere properly must be removed by sanding or stripping, depending on the condition of the wood and the type of previous finish.
3. Sand the wood
Sanding helps even out the surface, remove raised fibres and promote an even application. Always work in the direction of the wood grain, then remove all dust thoroughly before continuing.
4. Repair any defects in the surface
Use the preparation stage to check the overall condition of the woodwork. Cracks or small defects can be repaired with a product compatible with the wood and the intended finish. Severely damaged components should be repaired or replaced before applying the wood stain.
Tip: wood stain is a finishing product, not a product designed to repair damaged wood. The better the surface is prepared, the more even and durable the final result will be.
How to stain wood step by step
Once the surface has been prepared, you can begin the application. To achieve an even result, always follow the specific recommendations given in the technical data sheet for the wood stain you are using.
Step 1: Prepare your equipment
To apply wood stain, you will generally need a suitable paintbrush or wide brush, possibly a roller depending on the surface and product, sanding equipment, a clean cloth and protective coverings for adjacent surfaces.
A paintbrush or wide brush is particularly useful for woodwork with reliefs, corners, grooves or mouldings. On large flat surfaces, a suitable roller can make application easier, followed by smoothing with a brush when required by the product.
Step 2: Mix the wood stain thoroughly
Mix the product thoroughly before and during application to ensure an even finish, especially when using a coloured wood stain, as pigments can gradually settle at the bottom of the container.
Step 3: Apply the wood stain in the direction of the grain
Apply the stain evenly, working in the direction of the wood grain. Avoid excessive build-up and product accumulation in corners. On large surfaces, work in consistent sections to maintain an even finish and avoid visible overlaps.
Step 4: Allow it to dry
Follow the drying time specified by the manufacturer before applying the next coat. Temperature, air humidity, ventilation and the type of wood can all affect the actual drying time.
Step 5: Apply the following coats
The number of coats depends directly on the wood stain chosen and the condition of the surface. Some formulations require two or three coats to achieve their optimum level of finish and protection. Always follow the application system specified for the product you are using.
How to stain exterior wood
To stain exterior wood, always choose a finish specifically designed to withstand the conditions to which the surface will be exposed. Cladding, shutters, windows, doors, sheds and other vertical exterior woodwork are exposed to UV rays, rain and temperature variations.
A suitable exterior wood stain creates a microporous protective film that provides long-lasting surface protection while enhancing the appearance of the wood. A coloured stain also contains pigments that generally improve the finish's resistance to UV rays.
For decking or other horizontal exterior surfaces exposed to foot traffic, standing water and harsh weather conditions, a wood saturator is generally more suitable. As a non-film-forming treatment, it penetrates the wood and also makes maintenance easier.
How to stain interior wood
Indoors, the requirements are different. The finish generally does not need to withstand rain or significant climatic variations. The choice therefore depends more on appearance, the type of surface and the level of wear.
Beams, exposed timber frames, wooden panelling and other decorative elements can be stained to preserve the appearance of the wood while changing its colour if desired. Discover the different wood stains suitable for different types of surfaces.
Common mistakes to avoid when staining wood
Applying wood stain to damp wood
This is one of the most common mistakes. Excessive moisture in the surface can affect adhesion, drying and the performance of the finish. The moisture level of the wood must comply with the recommendations for the product before application.
Neglecting surface preparation
Applying a new wood stain directly over an old finish that is peeling will not provide a sound surface. The new coat may adhere to a finish that is itself poorly bonded to the wood.
Applying coats that are too thick
Applying too much product does not necessarily improve protection. On the contrary, it can cause excessive build-up, runs or uneven drying. It is better to follow the recommended coverage rate and number of coats.
Staining wood in direct sunlight or unsuitable conditions
Outdoors, avoid applying the product to a very hot surface, in intense direct sunlight, when rain is imminent, or when temperature and humidity conditions are incompatible with the product's technical data sheet.
Failing to protect adjacent surfaces
Glass, metal fittings, floors, walls and nearby plants should be protected before you begin. This simple step avoids wasting time removing splashes of wood stain afterwards.
Before and after: what results can you expect from a wood stain?
On properly prepared wood, a stain provides an even finish while preserving the natural character of the material. Depending on the colour selected, it can simply highlight the grain or significantly change the appearance of the woodwork.
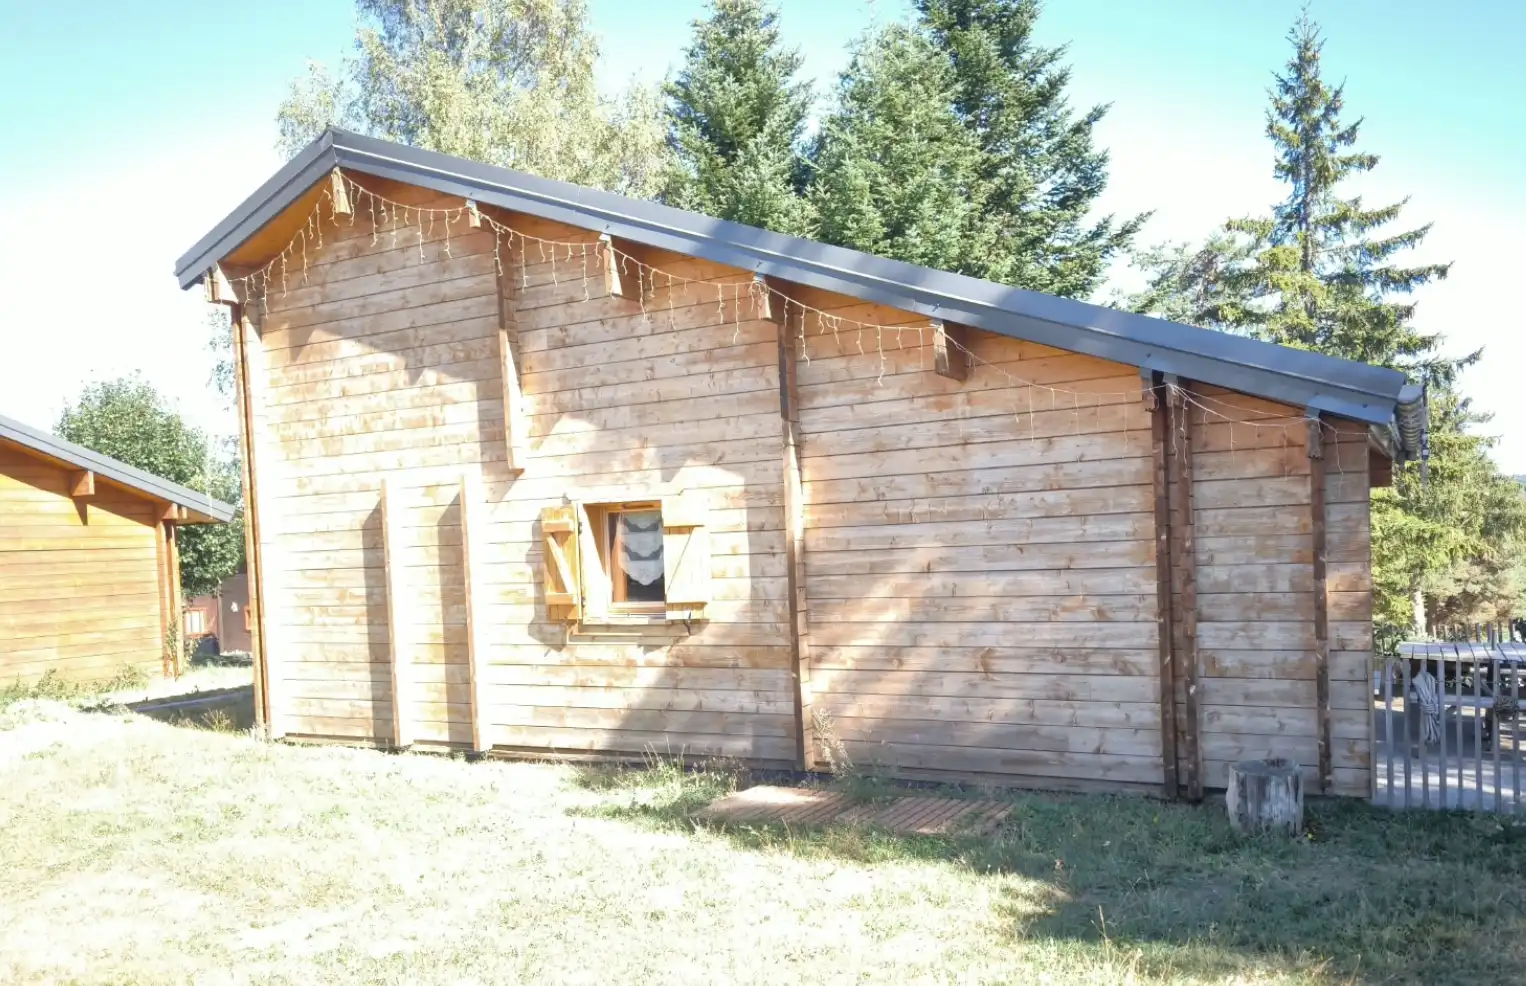
Before: bare wood or a finish requiring renovation
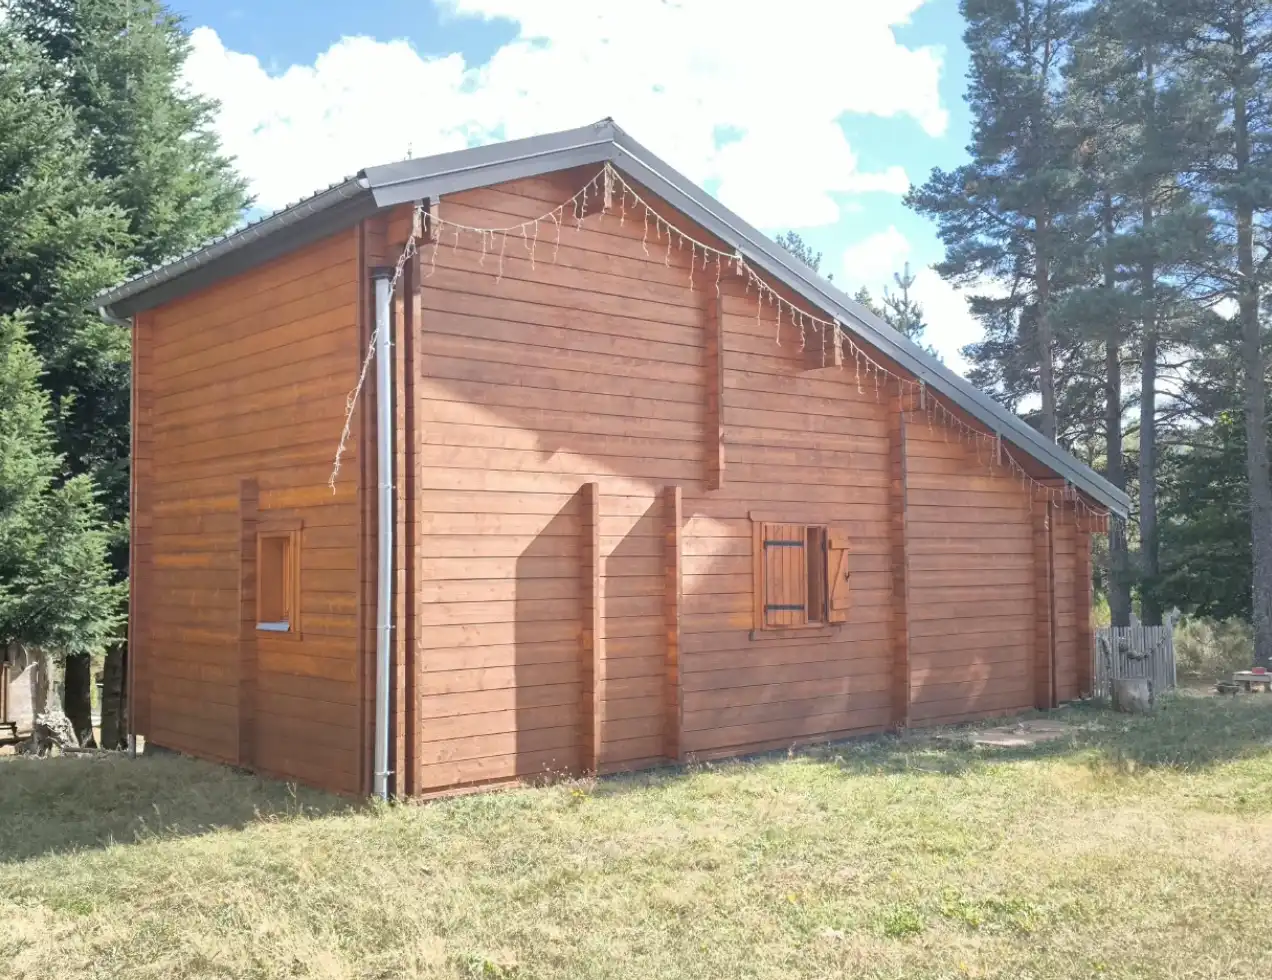
After: protected wood with an even finish
FAQ: Everything you need to know before staining wood
Can you apply wood stain without sanding?
It depends on the condition and nature of the surface. On an old finish that is perfectly sound, adherent and compatible, light preparation may sometimes be sufficient. However, if the old finish is peeling, has defects or prevents the new stain from adhering properly, sanding or stripping will be necessary.
How many coats of wood stain should you apply?
The number of coats depends on the product used. Many wood stains require two to three coats, but you should always follow the manufacturer's instructions regarding preparation, coverage, drying time and number of coats.
Can you stain wood that has already been painted?
Opaque paint prevents wood stain from producing the appearance normally desired on wood. To restore a finish that allows the wood grain to remain visible, the old paint generally needs to be removed to return to a surface compatible with wood stain.
Can you use wood stain on wooden decking?
Decking is a horizontal surface that is heavily exposed to foot traffic, water and weather conditions. For this type of application, a wood saturator for exterior use is generally preferred. Its non-film-forming properties make it better suited to wooden decking than a wood stain designed for vertical surfaces.
Which wood stain should you choose for exterior wood?
Choose a wood stain specifically formulated for exterior use and compatible with the type of wood concerned. On cladding, shutters, doors, windows and other vertical surfaces, a microporous and water-repellent exterior wood stain combines protection with a decorative finish.
What is the difference between wood stain and wood saturator?
The main difference lies in how they work. A wood stain forms a microporous protective finish on the surface of the wood, while a wood saturator is a non-film-forming treatment that penetrates the wood. Wood stain is particularly suitable for vertical woodwork when long-lasting protection and a stained finish are desired. A wood saturator is particularly suitable for decking and other horizontal surfaces, as well as projects where a very natural appearance and easy maintenance are the priority.
In summary: how to stain wood properly
To successfully stain wood, choosing the right product is important, but preparing the surface is just as essential. Work on clean, sound and dry wood, remove any old loose finishes, sand when necessary, and then apply the wood stain evenly in the direction of the grain.
You should also choose the finish according to the intended use: a suitable wood stain for vertical interior or exterior woodwork and a wood saturator for horizontal exterior surfaces such as decking. Finally, always follow the recommended application conditions, drying times and number of coats for the product you are using.
Would you like to protect or decorate your cladding and woodwork?
Discover Anova Bois wood stains and choose a finish suited to your surface and your project.