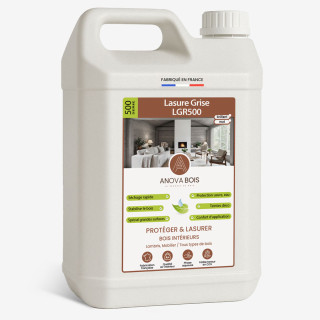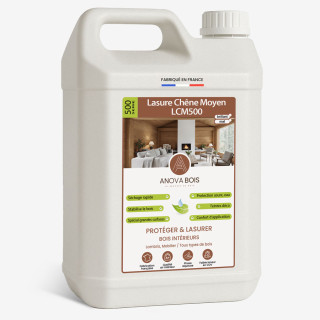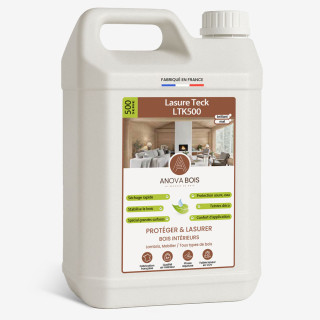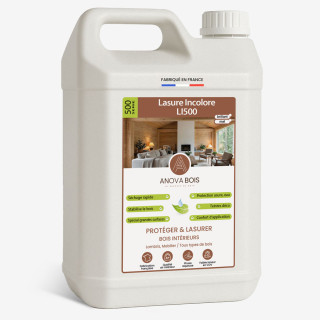





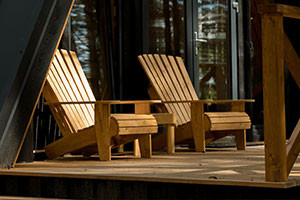



Staining wooden furniture allows you to enhance its natural appearance, change its colour and provide a protective finish suited to its intended use. Unlike opaque paint, wood stain generally allows the wood grain to remain visible, helping preserve its natural character.
Tables, chairs, chests of drawers, sideboards, shelves and small decorative pieces of furniture can all be stained, provided you choose a product suited to the wood and its intended use. Proper wood preparation also plays an essential role in the quality and durability of the final result.

What is wood stain and why use it on furniture?
A wood stain is a finishing product designed to protect and decorate wood while keeping its natural grain visible. Depending on the product chosen, it can be colourless or tinted and offer different types of finish.
Using wood stain on furniture offers several benefits:
- it helps preserve the natural appearance and grain of the wood;
- it can add a different colour or tone to the furniture;
- it protects the surface against everyday wear depending on the performance of the product used;
- it allows you to renovate furniture without completely hiding the wood.
Wood stain, varnish or paint: what is the difference for furniture?
These three finishes do not produce the same result.
Wood stain keeps the grain visible and provides a transparent or semi-transparent decorative finish. It is particularly suitable when you want to preserve the natural appearance of the furniture.
Varnish forms a protective film on the surface. It is particularly suitable for furniture and heavily used surfaces when a high level of resistance to abrasion, stains or repeated cleaning is required.
Paint is generally opaque. It covers more of the wood grain and its original colour to create a completely new coloured finish.
The right choice therefore depends primarily on the desired appearance and how the furniture will be used.
How to prepare furniture before applying wood stain
Proper preparation is essential for achieving an even finish. Wood stain should be applied to a clean, dry and properly prepared surface.
1. Clean the furniture
Start by removing dust, dirt, grease and any other residue from the furniture. Proper wood furniture cleaning will help ensure a clean surface before moving on to the preparation and finishing stages.
Allow the wood to dry completely before continuing.
2. Sand the wood
If the furniture is made from bare wood, light sanding will help create a smooth and even surface. Always sand in the direction of the wood grain, then remove all dust thoroughly.
If the furniture already has an existing finish, you first need to determine what type of finish it is. Old paint, varnish or another film-forming finish may prevent the wood stain from penetrating or adhering correctly. In this case, the existing finish will generally need to be removed before application.
3. Strip the furniture if necessary
For painted or varnished furniture, using a stripper can make it easier to remove the old finish. After stripping, sanding will help even out the surface and expose clean wood.
The aim is to achieve a uniform surface to prevent differences in colour or absorption when the wood stain is applied.
How to apply wood stain to furniture
Once the surface has been prepared, the stain should be applied methodically. Always follow the recommendations provided in the technical data sheet for the chosen wood stain, particularly regarding the number of coats, drying times and whether sanding between coats is required.
Step 1: Choose a wood stain suitable for the furniture
Your choice will mainly depend on where the furniture will be used.
For indoor furniture, choose a wood stain specifically designed for interior use and suited to the desired appearance, such as colourless, white or tinted.
For outdoor furniture, always use a product specifically designed to withstand exterior conditions. In particular, consider exposure to moisture, UV rays and weather conditions.
Extra care should also be taken with heavily used horizontal surfaces. For a tabletop, for example, a finish specifically designed to withstand abrasion, stains and frequent cleaning may be more appropriate than a standard wood stain.
Step 2: Apply the first coat
Stir the product thoroughly before use. Then apply an even coat using a brush or another suitable application tool, working in the direction of the wood grain.
Avoid applying too much product. An even application helps minimise overlap marks and differences in colour.
Step 3: Allow to dry and sand lightly if necessary
Follow the drying time specified by the manufacturer. If recommended in the technical data sheet, lightly sand between coats using a fine abrasive.
Remove all sanding dust thoroughly before applying the next coat.
Step 4: Apply the next coat
Apply the next coat evenly, always following the direction of the wood grain. The total number of coats required will depend on the product used and the desired level of finish.
How can you avoid marks when applying wood stain?
For an even result, work continuously across each section and avoid going back over areas that have already started to dry. Reload your brush regularly without applying excessive amounts of product.
On large surfaces, such as wardrobe doors or the sides of a sideboard, try to complete each panel without interruption to prevent visible overlap marks.
Before treating the entire piece of furniture, it is also advisable to carry out a test on a small, inconspicuous area. The final colour may vary depending on the wood species, its original colour, the level of sanding and the number of coats applied.
How to maintain stained wooden furniture
Routine maintenance of stained wooden furniture is relatively simple. Dust the surface regularly using a soft cloth. For more thorough cleaning, use a method compatible with the finish and avoid products that are overly aggressive or abrasive.
On frequently used furniture, keep an eye on the areas exposed to the most wear, such as handles, edges, tabletops and areas subject to repeated contact.
When the finish starts to lose its uniform appearance, localised or complete renovation may be necessary. Depending on the condition of the surface and the product used, cleaning, light sanding and the application of a new coat may help restore the finish.
What mistakes should you avoid when staining furniture?
- Applying wood stain directly over old paint or an incompatible varnish.
- Failing to remove dust properly after sanding.
- Applying coats that are too thick.
- Failing to follow the recommended drying times between coats.
- Using an interior wood stain on furniture placed outdoors.
- Failing to carry out a preliminary test when using a tinted wood stain.
- Using a standard wood stain on a heavily used surface without checking whether it is suitable for that purpose.
In summary: the steps for staining wooden furniture
- Clean the furniture thoroughly.
- Remove the existing finish if necessary.
- Sand the wood in the direction of the grain.
- Remove all dust from the surface.
- Choose a wood stain suitable for interior or exterior use.
- Apply an even first coat.
- Allow it to dry and lightly sand if required by the product.
- Apply the following coat or coats according to the manufacturer's recommendations.
- Allow the finish to dry completely before using the furniture again.
Give your furniture a new look with wood stain
Staining furniture is an effective way to renovate wood while keeping its natural grain visible. A colourless wood stain helps maintain an appearance close to the original wood, while a tinted finish can noticeably transform the look of the furniture without completely covering the wood.
Successful results depend primarily on three factors: careful preparation of the surface, choosing a finish genuinely suited to how the furniture will be used, and following the application instructions provided by the manufacturer.